By Paul Meisel
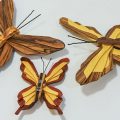
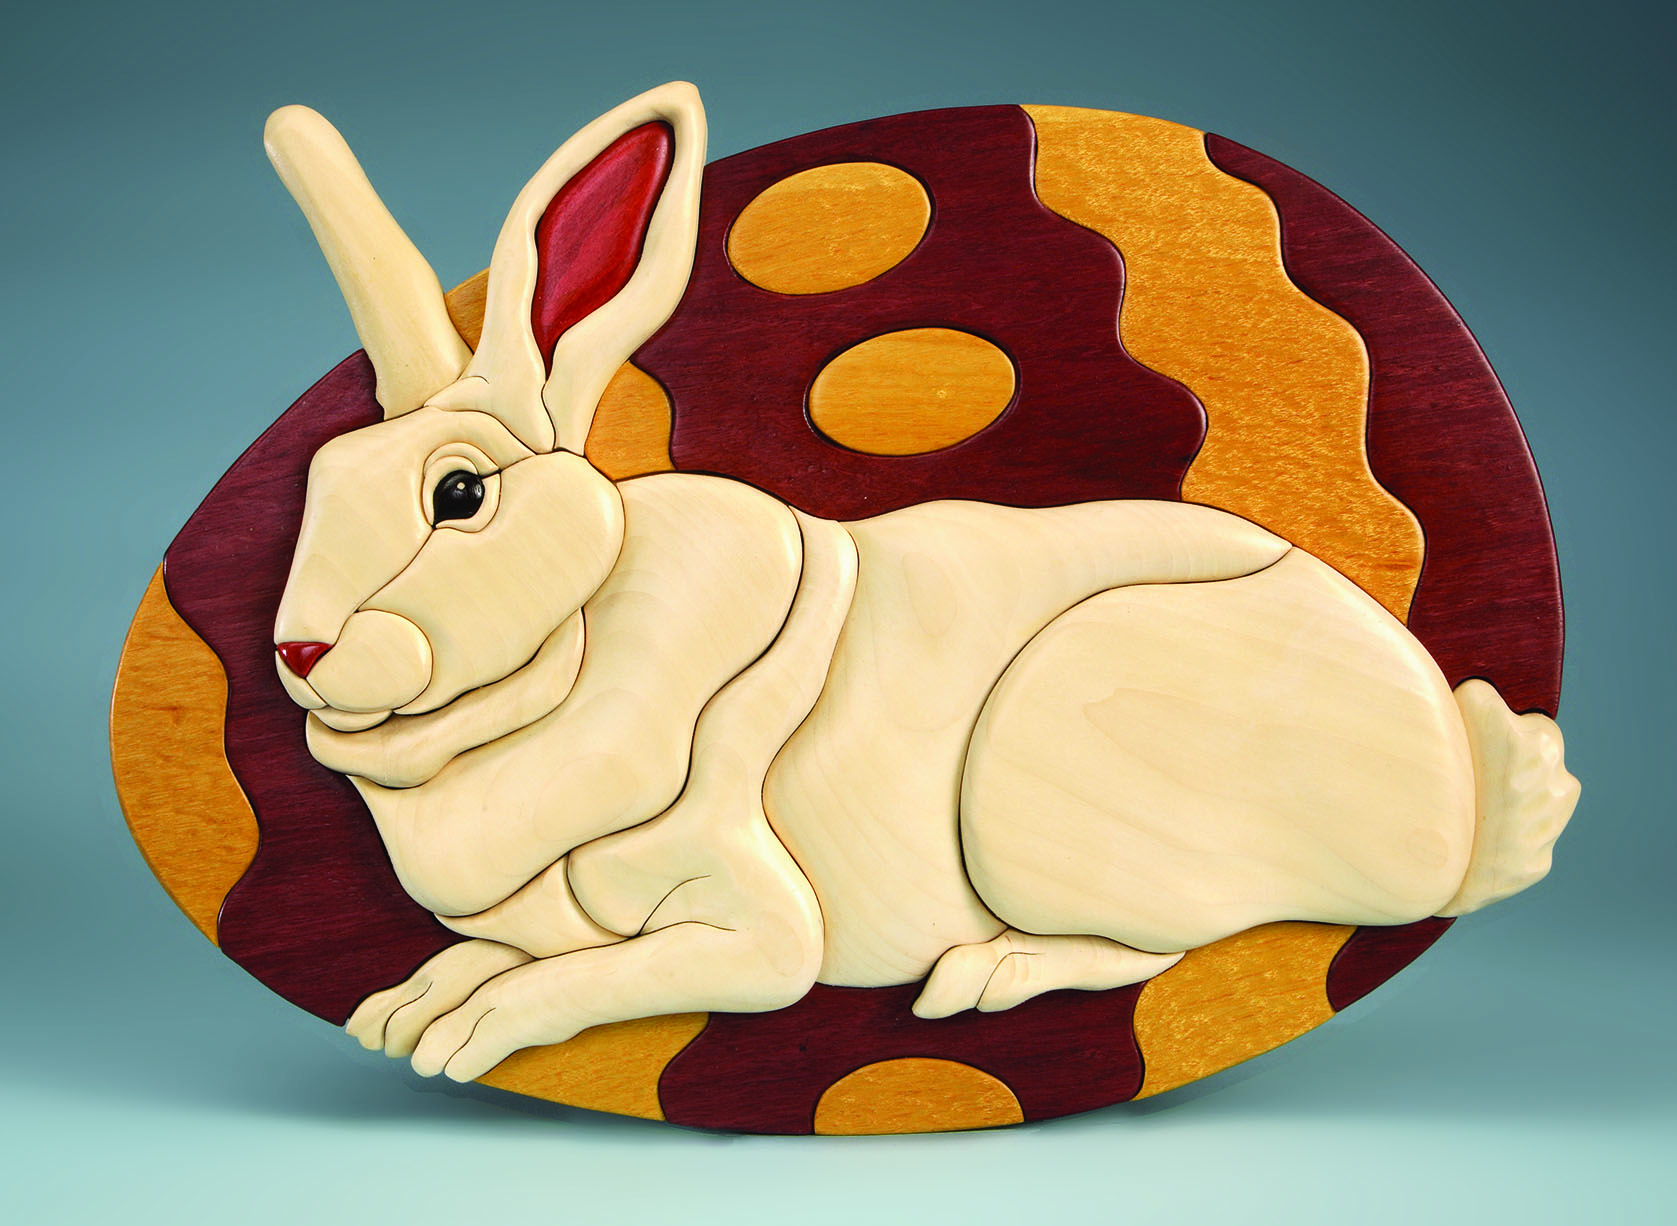
These delightful bunnies are easy to create and make great gifts or sale items.
They are easy to make for several reasons. First, the shapes do not require precision cutting and, therefore, are very forgiving should you go outside the cut lines. Second, there are no inside cuts. Third, since they are painted all one color, they are easy to paint. These rabbits are an ideal beginning project for children or for those new to scroll sawing.
Picture having two or more of these cute animals displayed in your yard, in your garden, or even in a large flower pot.
Instructions:
- Prepare the stock. All the parts can be cut from 3/4“-thick pine. Because the patterns are quite simple, they can easily be transferred to your stock with carbon paper or graphite transfer paper.
- Cut out the pieces on a scroll saw. Use a blade with 11 to 12 teeth per inch. I use a #5 reverse-tooth blade.
- Mark the location of the arms, legs and ears. The location of each of these parts is shown by the phantom lines—lines with a long, followed by two short dashes—on the drawings of the body pieces. With a sharp lead pencil, draw lines around the parts to mark where they are to be glued to the body.
- Sand some of the edges. An easy technique for sanding or “softening” the edges is with a drum sander on your drill press. I sand a chamfer about 1/8“-wide. If you don’t have a drum sander, hand sand the edges with 60-grit, then 100-grit sandpaper.
- Drill the hole in the body piece for the fiberglass mounting stake. The exact location of the hole isn’t critical, but it is important that it be drilled perpendicular to the bottom. Use a drill press vise to hold the wood. I use a tri-square and a combination square to check that the bottom of the body piece is parallel to the drill press table. Drill the 1/4“-diameter hole approximately 1” deep.
- Glue the pieces together. Nail the pieces to the body with 11/4” x 18 gauge wire brads without glue. These brads are so thin that you will easily be able to pull the pieces back apart with your fingers. Apply a water resistant glue. When you reassemble the parts, insert the tips of the wire brads back into their original holes and pound the brads down all the way. Then clamp the pieces until the glue dries. The brads are not meant to hold the wood together. It is strictly to keep the pieces from sliding out of position. The glue is what really does the holding.
- Paint your bunnies. If there are any knots in your wood, it is best to prime the entire project with a stain blocking primer such as Bin or Kilz. Failure to use a stain blocker on the knots will often result in brown stains leaching through the paint after the projects have been finished. If there aren’t any noticeable knots or other lumber defects, you can prime the project with white, exterior, acrylic-latex house primer. After the primer has dried, sand it with 220-grit sandpaper. Then brush on one or two coats of white, exterior, acrylic-latex house paint.
- Cut the mounting rods to size. Fiberglass rods are used to stabilize the projects. These rods are available in 1/4” x 131/4” lengths. Use a hacksaw to saw the rod in half making two pieces approximately 63/4” long. Expect the glass fibers to fray when you cut the rod. This should not be a concern, as these can be the ends that you sand to a point. It works best to sand the rods using your stationary disc or belt sander. The last step is to glue a fiberglass rod into the hole in the bottom of each body. Be sure the sharp end of the stake faces down (away from the project). This point is what makes it possible to penetrate even very hard ground.
Materials:
Boards, pine or cedar: 3/4″ x 1″ x 6″ (19mm x 25mm x 152mm)
Rod, fiberglass: 1/4″-dia. x 13 1/2″ (6mm x 343mm)
Sandpaper: 60 and 100 grits
Carbon paper
Wire brads: 1 1/4″ (32mm) x 18 gauge
Glue, water resistant
Primer, stain blocking
Paint, acrylic latex
Tools:
Blade, reverse tooth: #5
Drill press
Disc sander
Drum sander: 1″ (25mm)-diameter
Bench vise
Hack saw
Drill press vise
Tri-squares/combination squares
Clamps
Hammer
Paint brushes
Click below to download the layered garden bunnies pattern.